1/7
O-INSPECT Familie
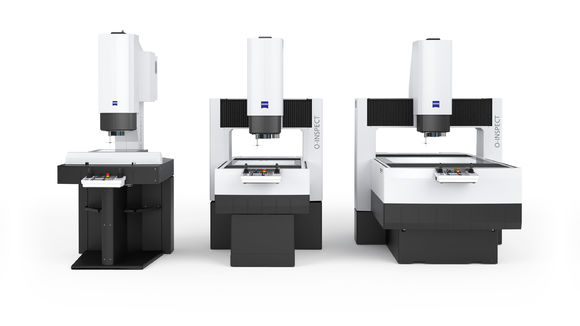
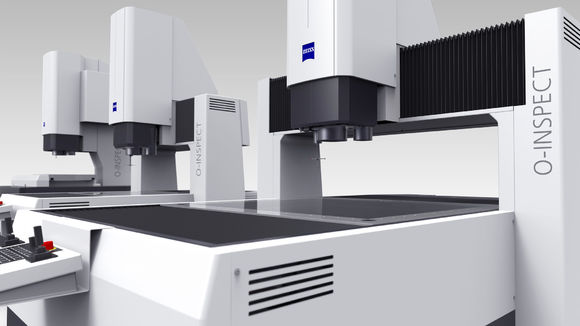
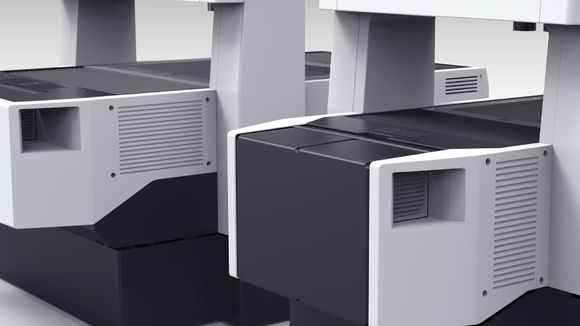
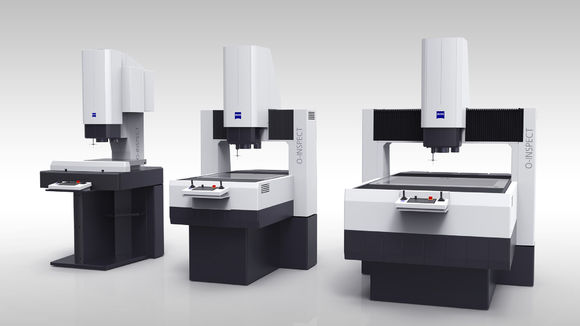
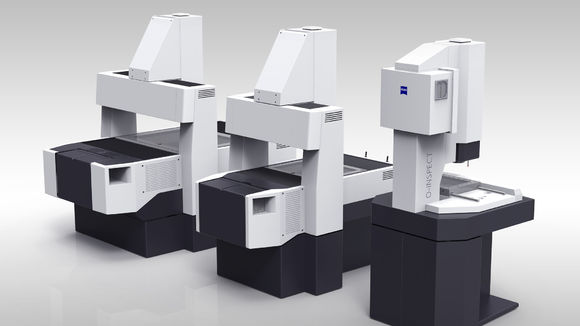
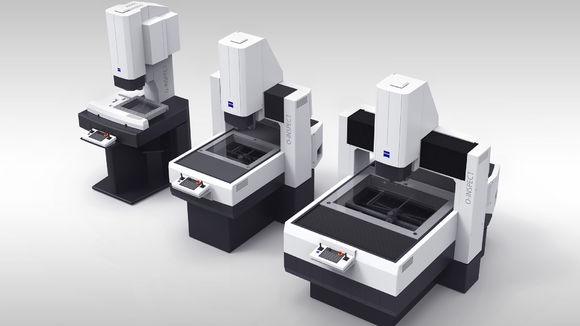
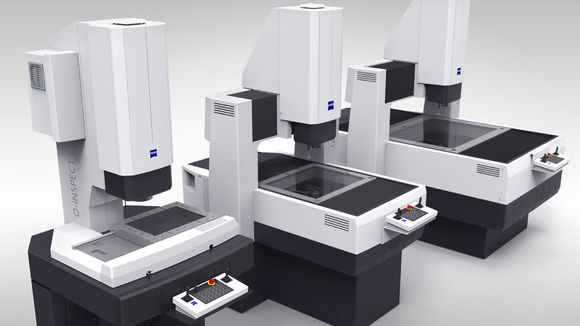
The O-INSPECTs measure optimally – optically or by contact. And deliver 3D precision. Deviations from norm or from current status are visualized by O-INSPECT and measurement software. The machines were conceived for measuring various volumes. The design stands out for the continuity in and advancement of the design idiom. Fundamental design attributes feature in the entire line, thereby highlighting that each device is one of the family. The precise profile and clear geometry visualize precision. A balanced distribution of color makes for a light appearance. Identical parts and cutting-edge production methods are served for optimized costs.
发布于2019-11-28
设计公司
Henssler und Schultheiss Fullservice Productdesign GmbH
设计奖项
德国iF设计奖
iF DESIGN AWARD/iF设计奖
2016 年
颜色
